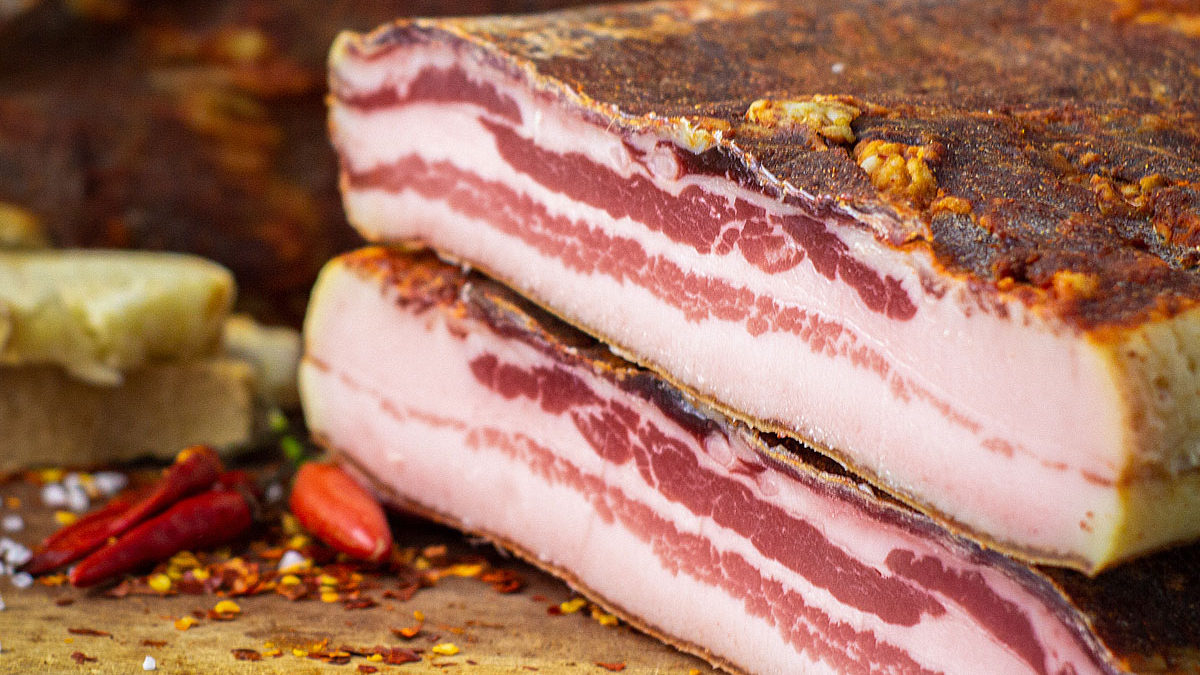
Curing bacon is not difficult. Buy a nice lump of pork belly, coat with cure, refrigerate, turn every day, done. Turning bacon into pancetta essentially just involves finding somewhere to hang it until it’s lost 20% or more of its body weight.
This post on the daily brine says it all really – read it. All I can add is this handy cure calculator and some feedback about Kyle’s technique based on the dozen or so times I have followed it, and a bit of practical advice on how to hang it and store it at home.
Hanging
Once you have a cured lump of bacon then it needs to hang for a couple of weeks and lose around 20% of its weight before it is more like pancetta and less like bacon. This can be a bit of a challenge for the home enthusiast!
Option 1: The Fridge
- If a modern fridge is your only option then put it on a cake rack over a plate with water on it. This is not ideal, eventually the outside will dry faster than the inside and will go hard, but you might get 10 days or so before it happens.
- Alternatively, you could wrap in ‘peach paper’. Its a sort of breathable butchers paper. Personally I think this is ok for bacon, but my feeling is it’s going to not allow enough air circulation for the 2-4 weeks it takes to dry a pancetta
Option 2: The Home
- If you like in the UK or other climate that rarely goes over 20 degrees C, then you can hang in the home. I have hung pancetta over the sink, in a cleaning cupboard, in a home office and various other places well out of the reach of my dog! Problem is at some point I usually loose my nerve, convince myself its being infested with flies when I’m not looking. Wrapping it in cloth just makes me worry its going mouldy as it seems to me to get a bit sticky.
- I hear other places like sheds, garages and man-caves in general are good, but just don’t think I am comfortable with that.
- Before I invested in the next option, the best option I found was to it a week in the cleaning cupboard and then move it to the rack in the fridge – after that if it starts going hard its time to either freeze it or start giving it away if you have loads left!
Option 3: The Curing Chamber
- I built a cabinet out of tongue an groove cladding easily found in B&Q or similar – it has worked well for me. Although recently I tried to put some uncured steaks in it for a few hours to dry out and they got infested with fly eggs so I am a bit paranoid now – but I’d done a dozen pancettas in it before this without problem!
- Another good option for outdoor hanging but with critter protection is to build a biltong box – google it, there are loads of videos
- Lastly, go big or go home on a proper curing chamber. I found some plans online (courtesy of Jamie Oliver), but the basic idea is to use a humidifier and a hydrometer (regulates humidity) in an old win fridge to maintain the right conditions for perfect curing. If you plan to do anything more complex than pancetta this is pretty much essential.
Ok, enough of the waffle, let’s get into it…

Home Cured Pancetta
Equipment
- 1+ Ziplock bag or…
- 10 Sheets of clingfilm (not advised!)
Ingredients
- 1 batch Pancetta cure Use this
CURE CALCULATOR - 1 kg Pork belly Or any amount really as you'll be using the cure generator!
Instructions
- If you have a large bone-in bellly remove the ribs (eat them, don't chuck them!) and skin the belly.
- Consider cutting the belly up into manageable pieces. I prefer to do lumps that fit into a gallon sizes ziplock bag. This also has the benefit that you can remove from the cure one batch at a time as you need them.
- Mix all the ingredients together to make the cure and coat the meat. Carefully drop the meat into a bag, or even more carefully wrap it in lots and lots of clingfilm (it's going to leak, so wrap it one way, then the other at least 2 or 3 times)
- Pop it in the fridge and turn every day for a fortnight – your belly is now bacon! (If you used clingfilm instead of ziplocks put it in something like a big roasting dish for example, otherwise you'll be cleaning your fridge a week from now)
- Wash off the cure under a cold tap and pat dry – now you need to find somewhere to keep it for another 2+ weeks!
